Step 01 — Create your account
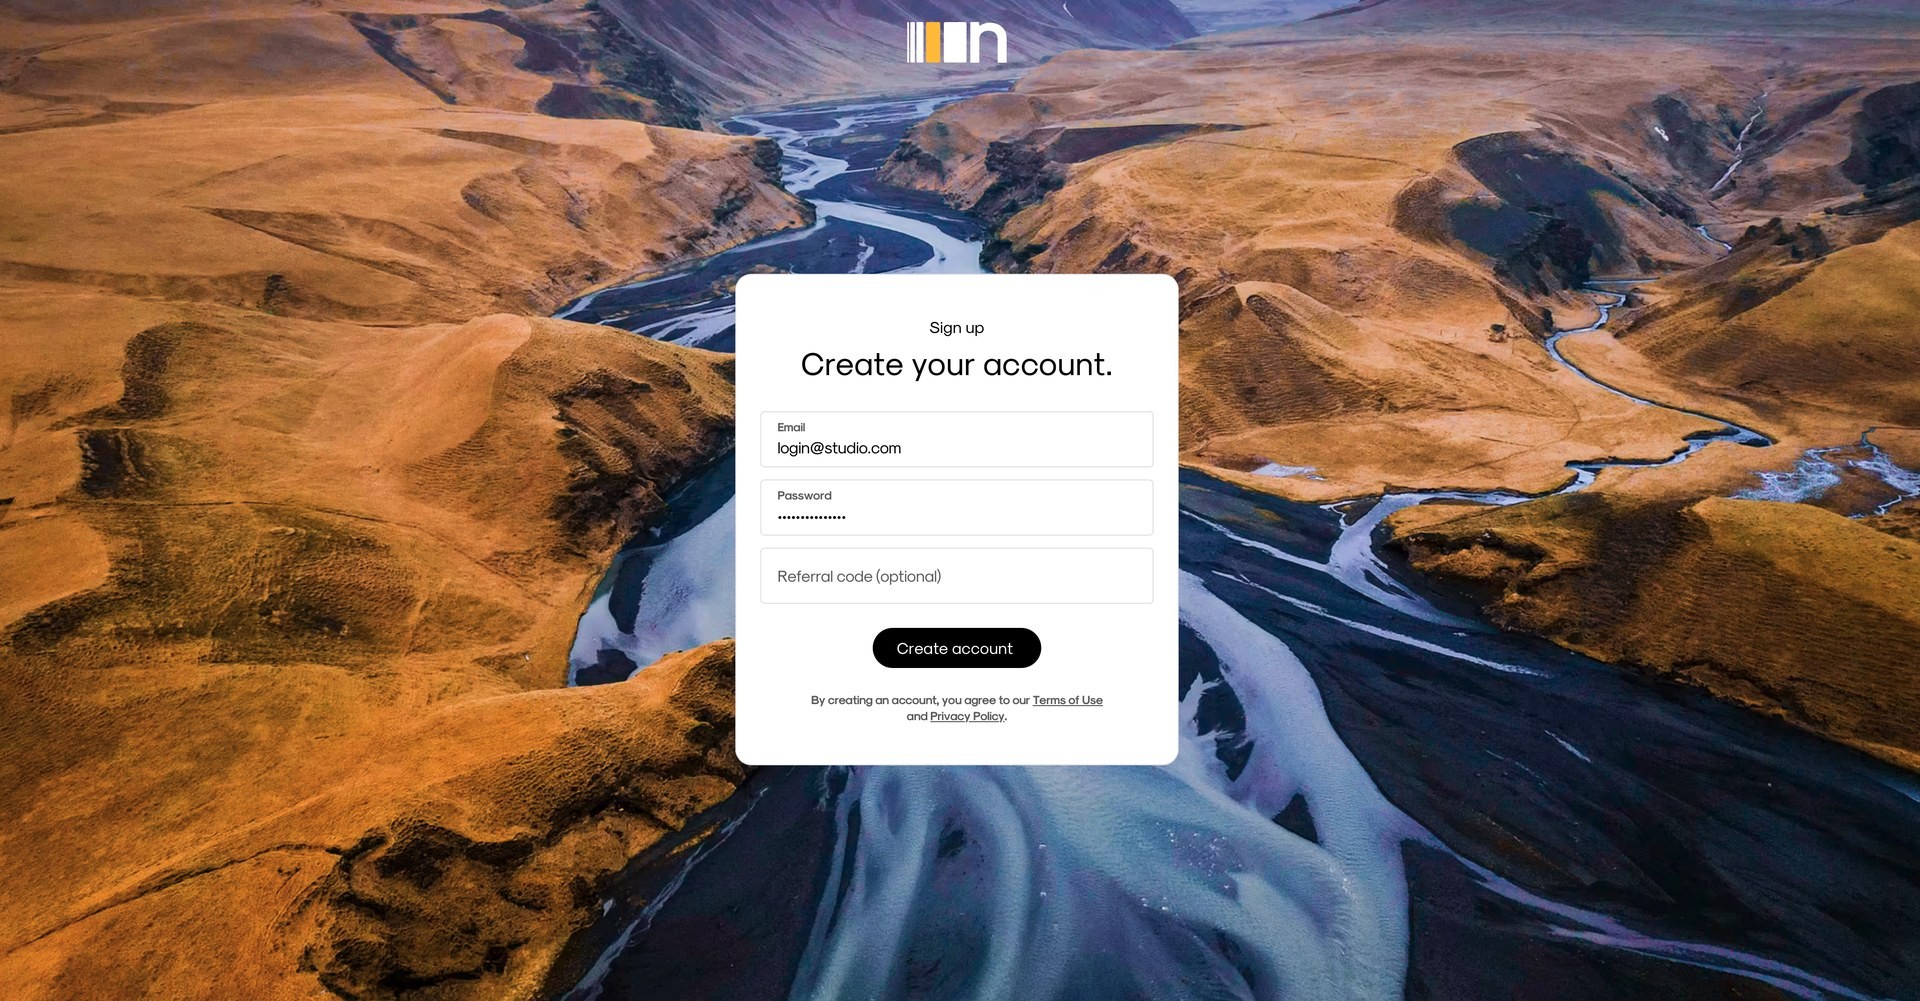
Go to neurapix.com and click “Try now” or “Login”. You’ll be redirected to the sign-up page.
Choose “Continue with Mail”, enter your email address and a password, then click “Create account”.

💡 Tip: You get 1,000 free edits right away — no credit card required.
After signing up, you’ll receive a confirmation email from Neurapix. Click “Confirm email address” to activate your account.
Step 02 — Download & install the plugin
After signing in, you’ll find the “Plugin” tab in your dashboard. Click “Download plugin” to get the Neurapix plug-in for Lightroom Classic.
Double-click the downloaded file and follow the installation guide. Installation takes less than a minute.
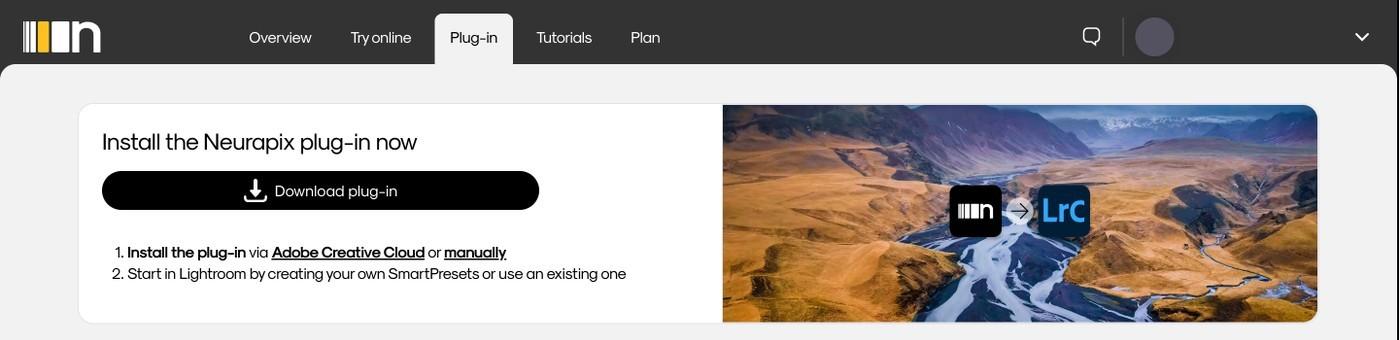
💡 Tip: You can also install the plugin directly via Adobe Creative Cloud.
Step 03 — Log in to Lightroom Classic
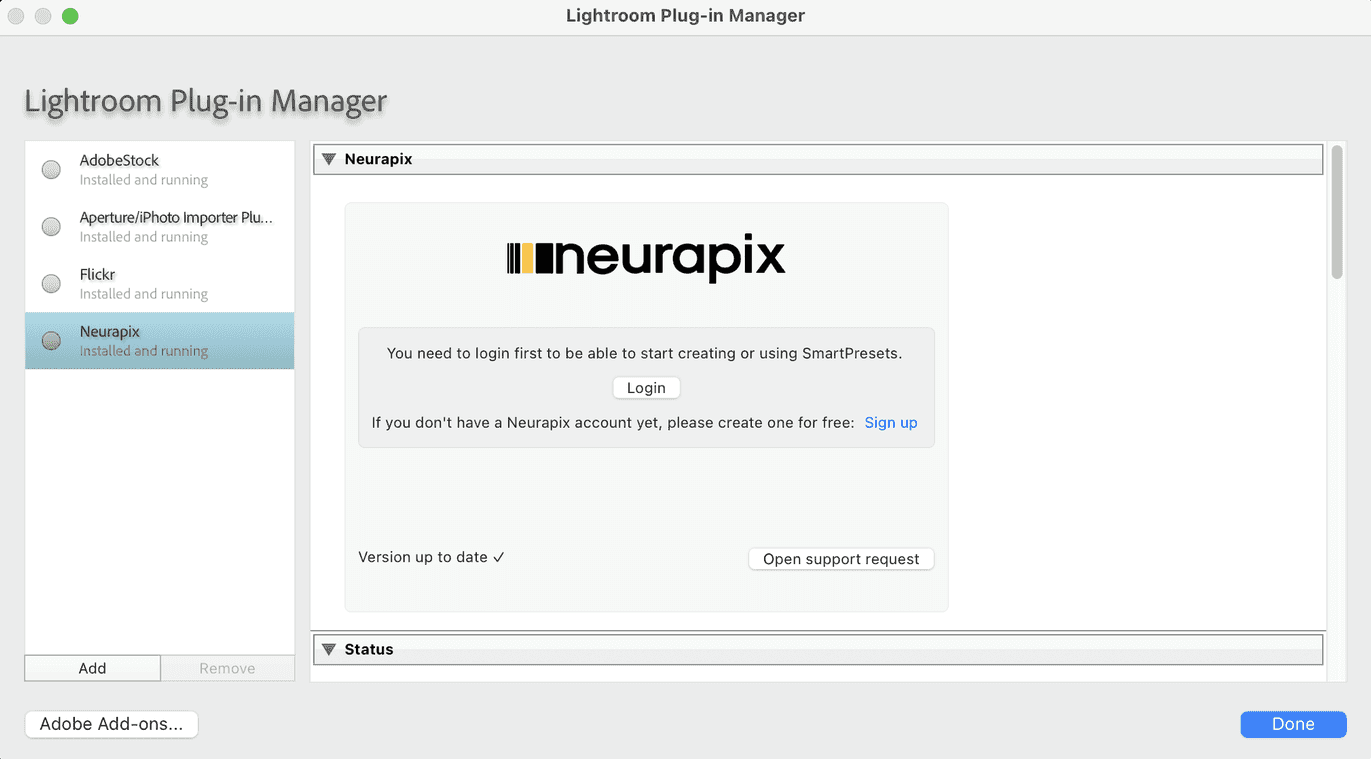
Open Lightroom Classic and go to File → Plug-in Manager in the menu bar.
Select “Neurapix” in the list on the left and click “Log in” to open the login dialog.
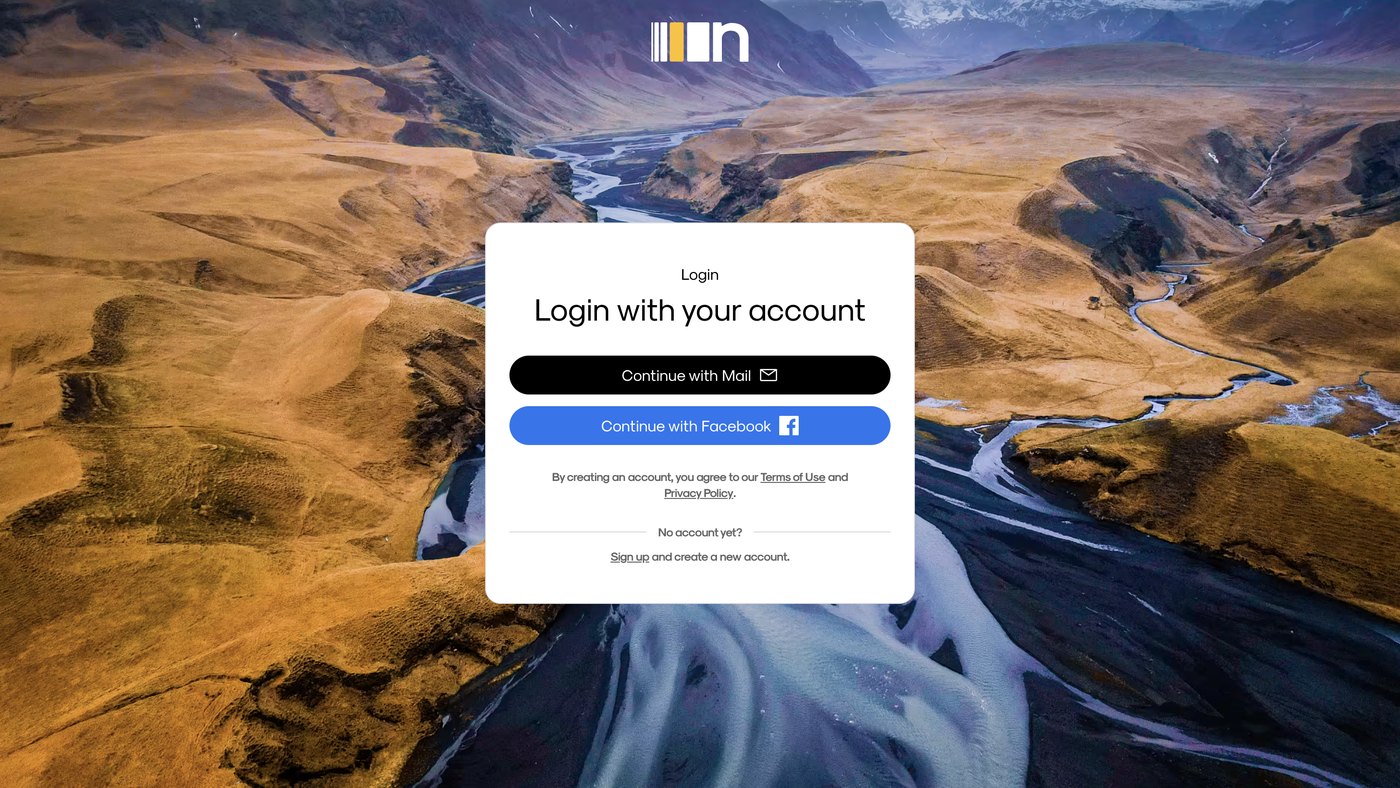
In the login dialog, click “Log in” — your browser opens the Neurapix login page. Sign in with your Neurapix account (“Log in as …” or email and password).
💡 Tip: You only need to log in once — you stay signed in permanently.

Start with 1.000 free AI edits.
Copyright © 2026 Neurapix GmbH. All rights reserved.