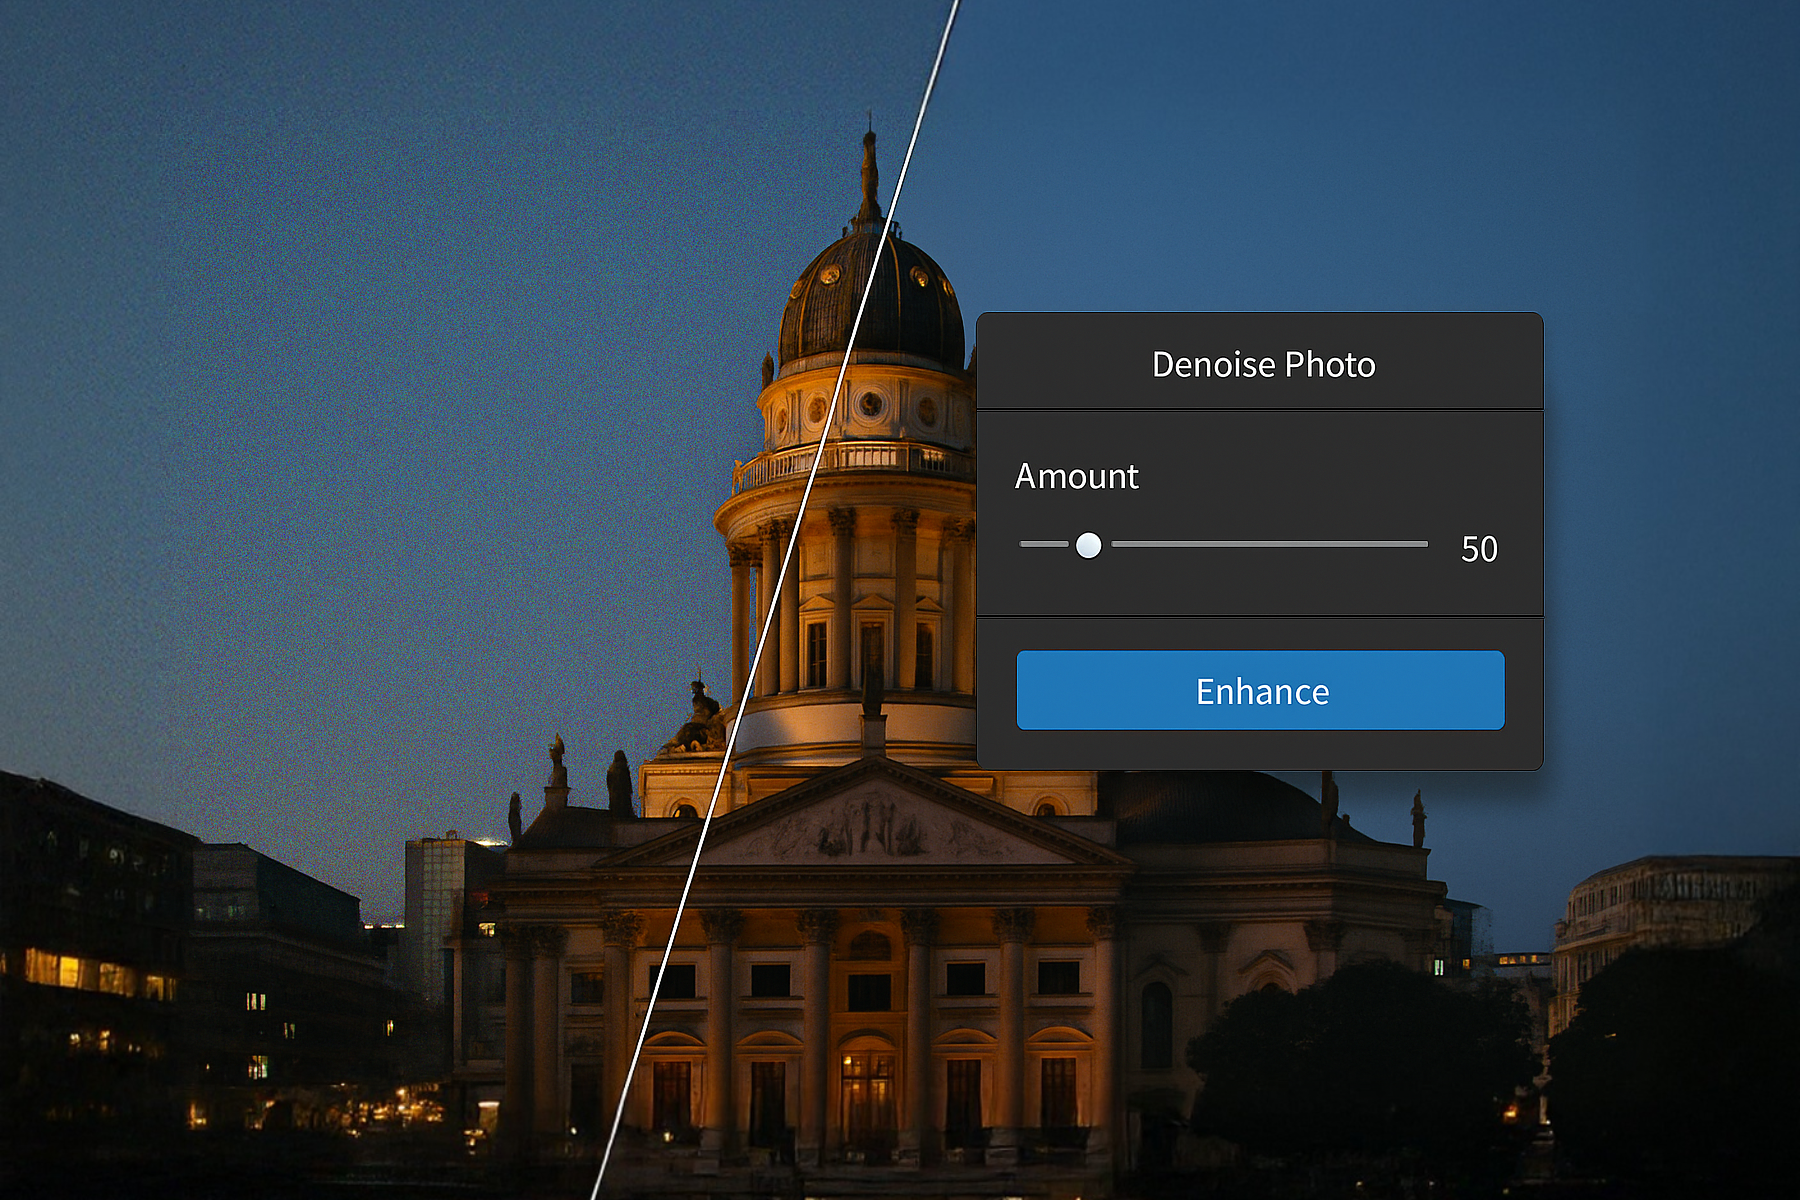
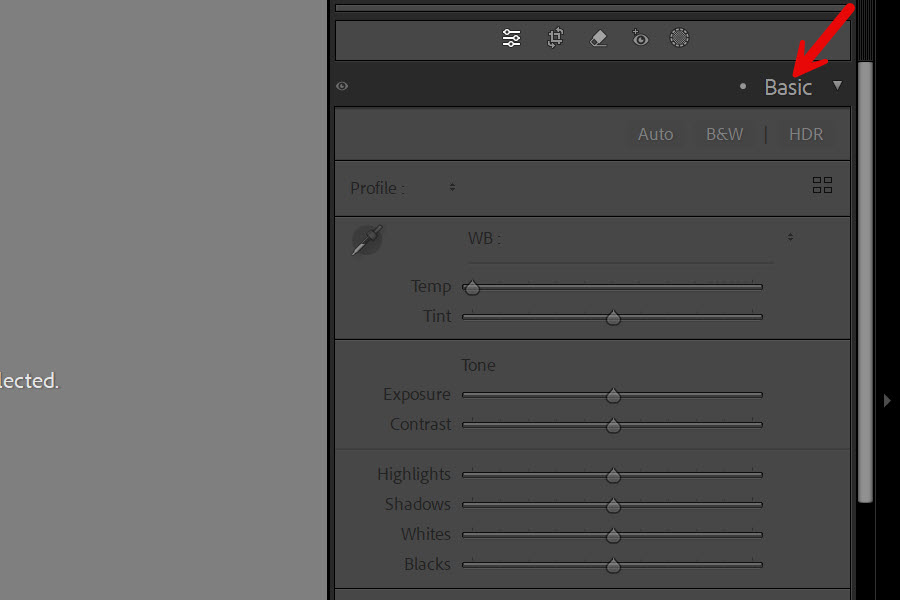
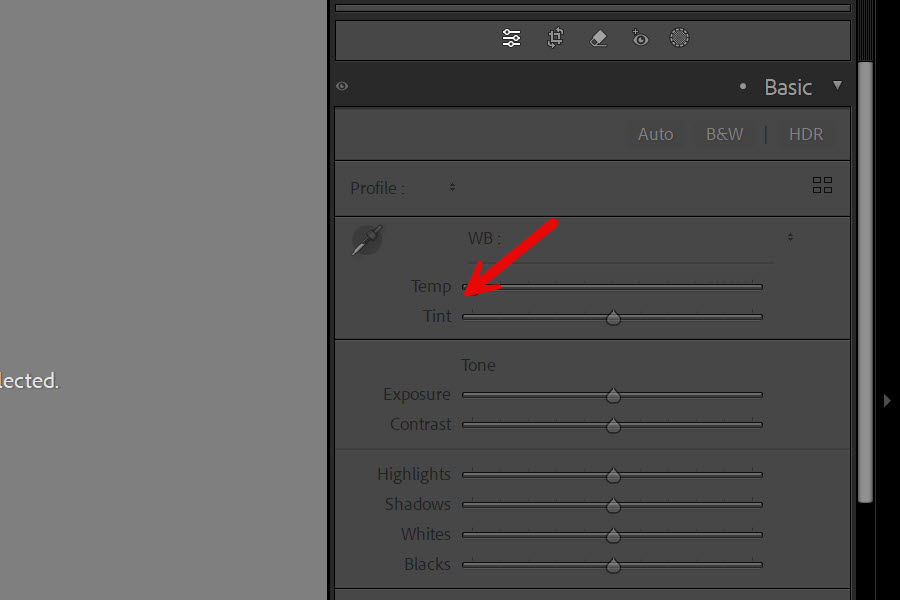
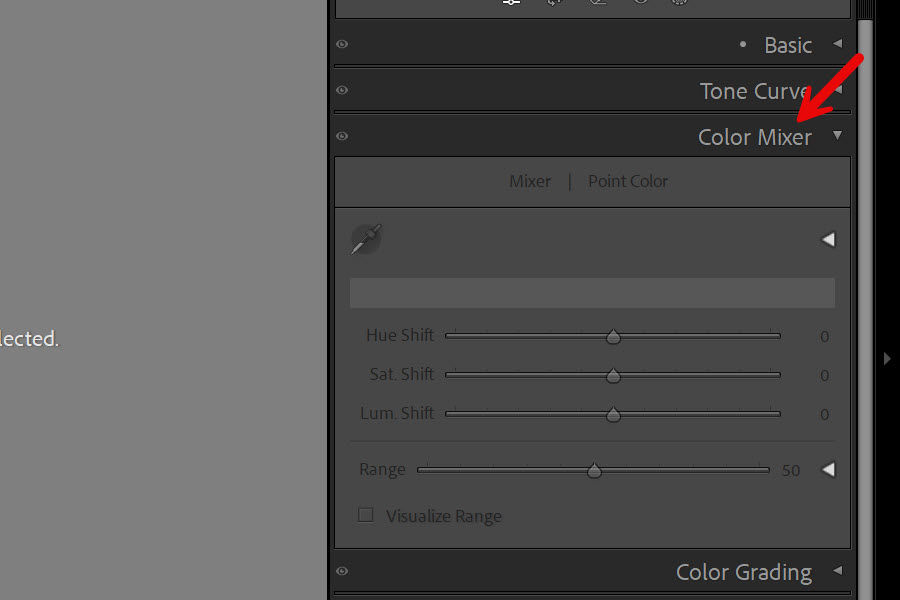
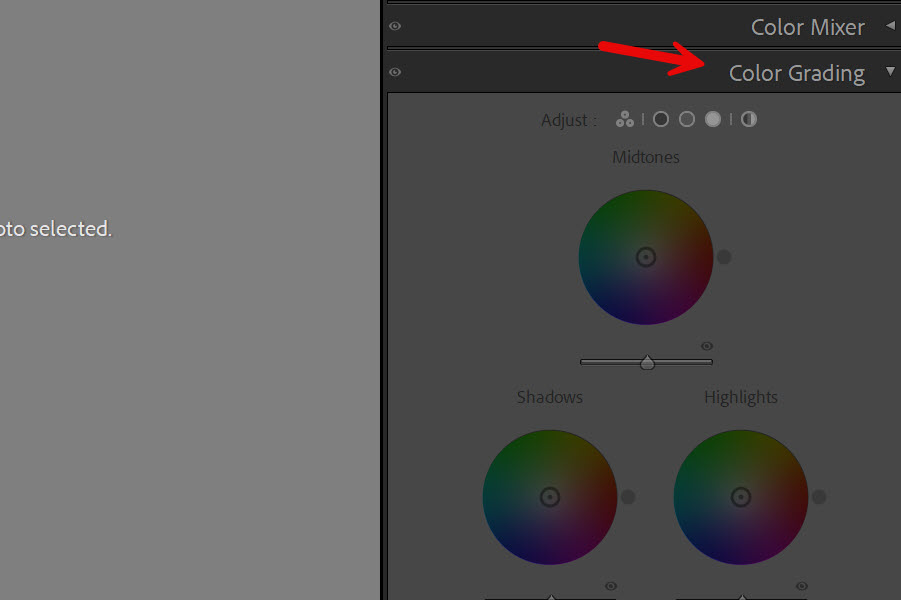
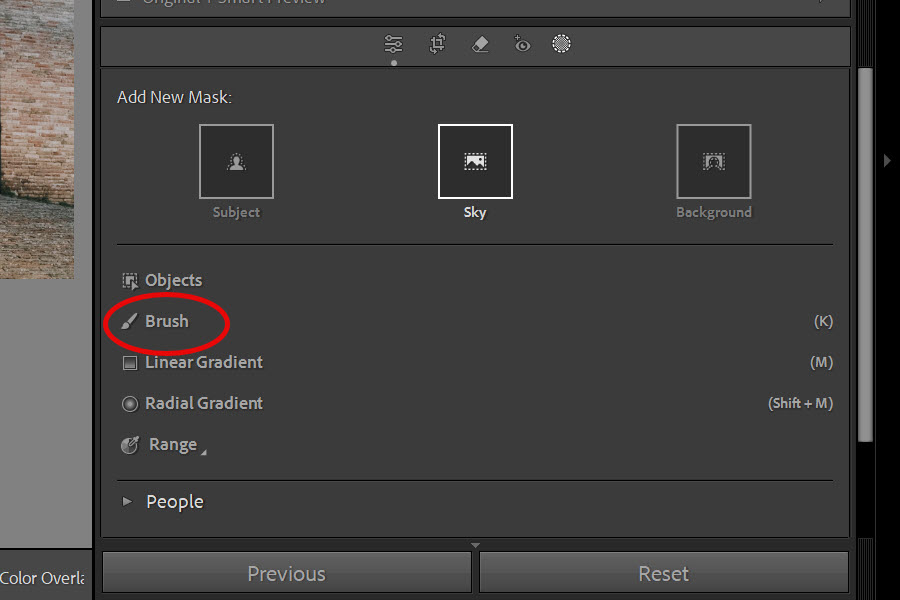
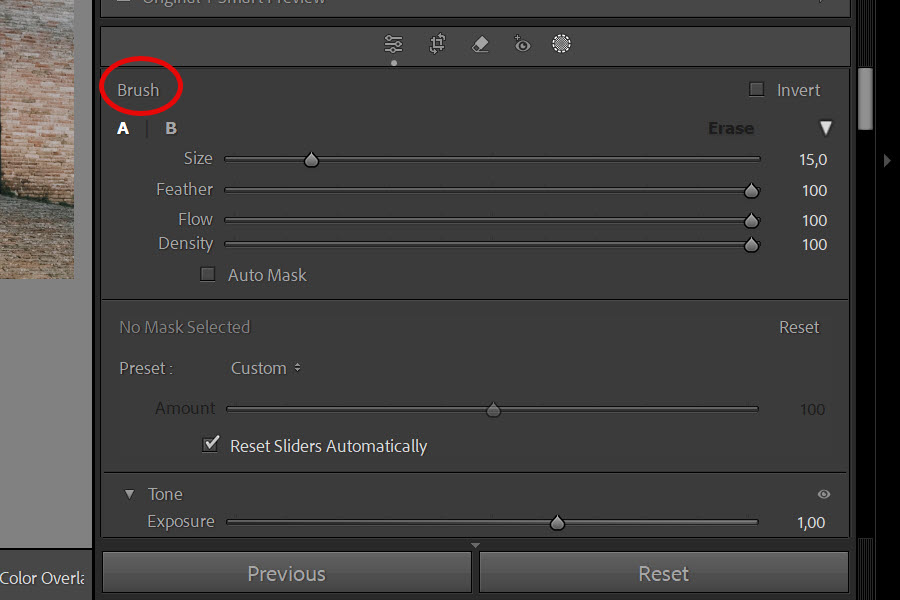
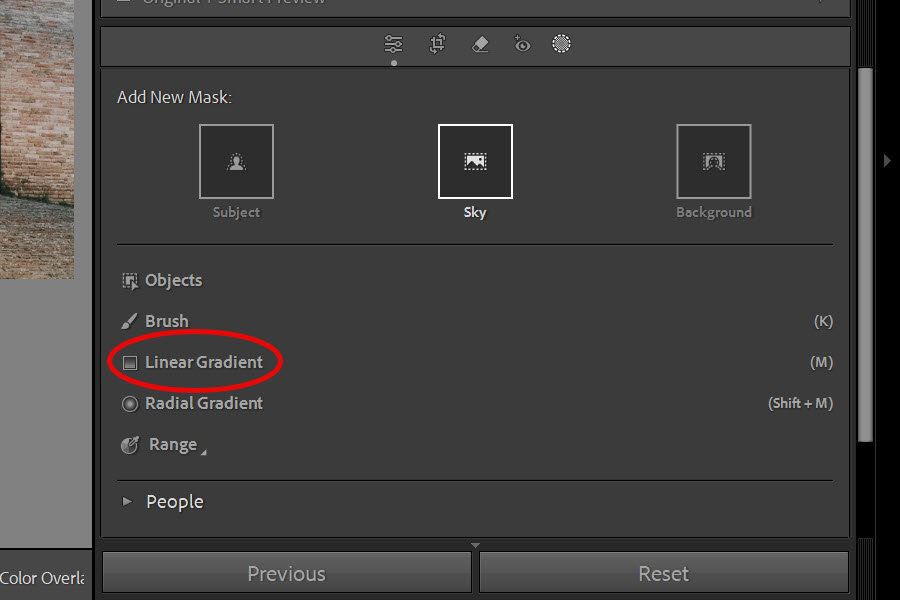
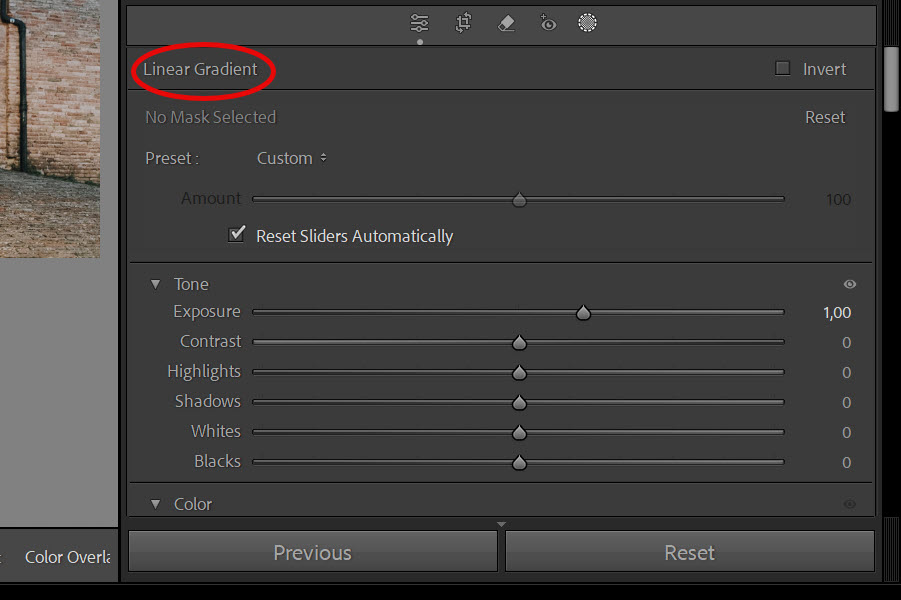
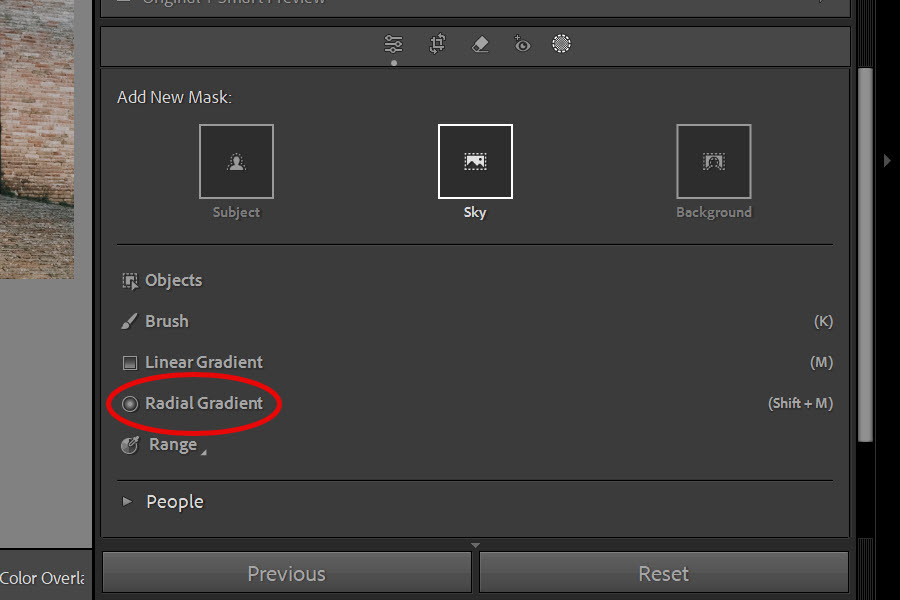
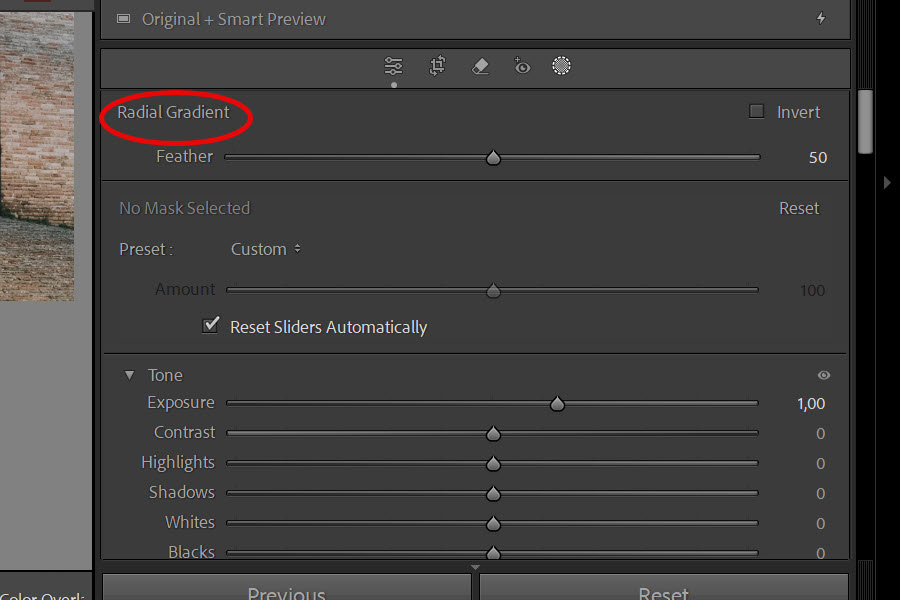
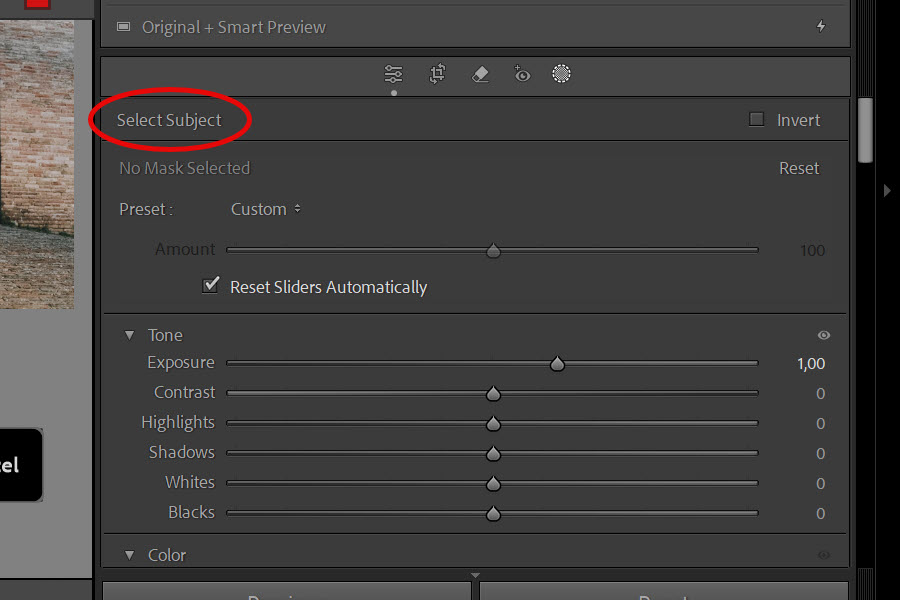
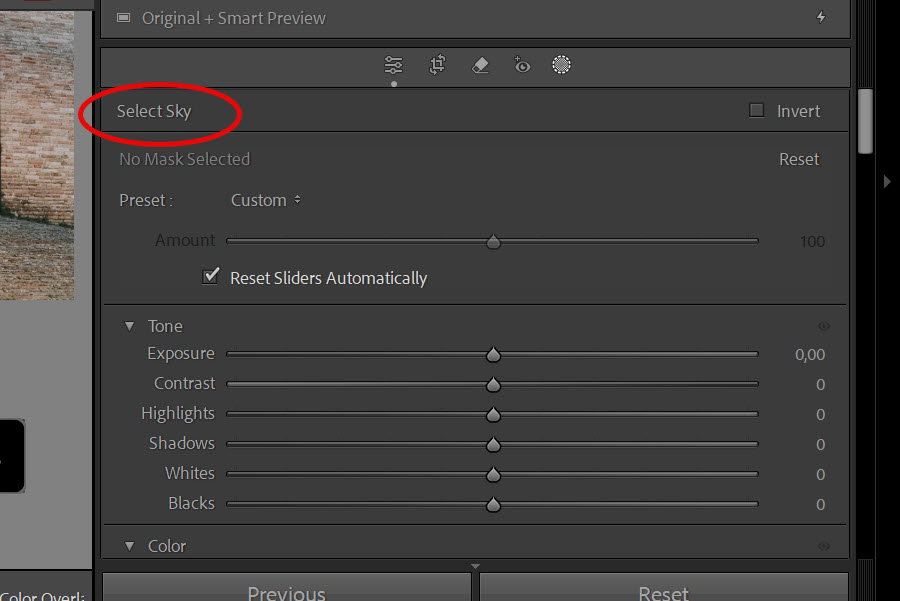
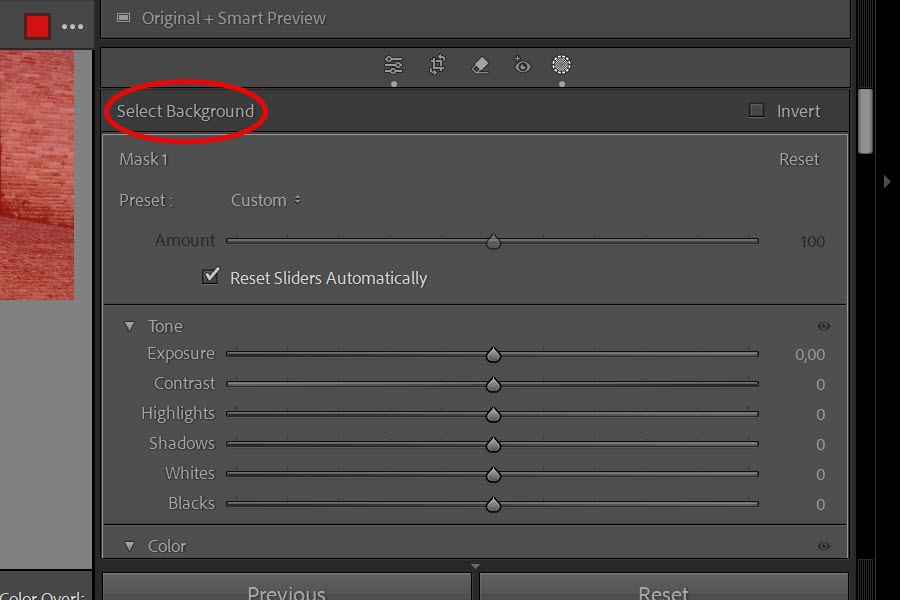
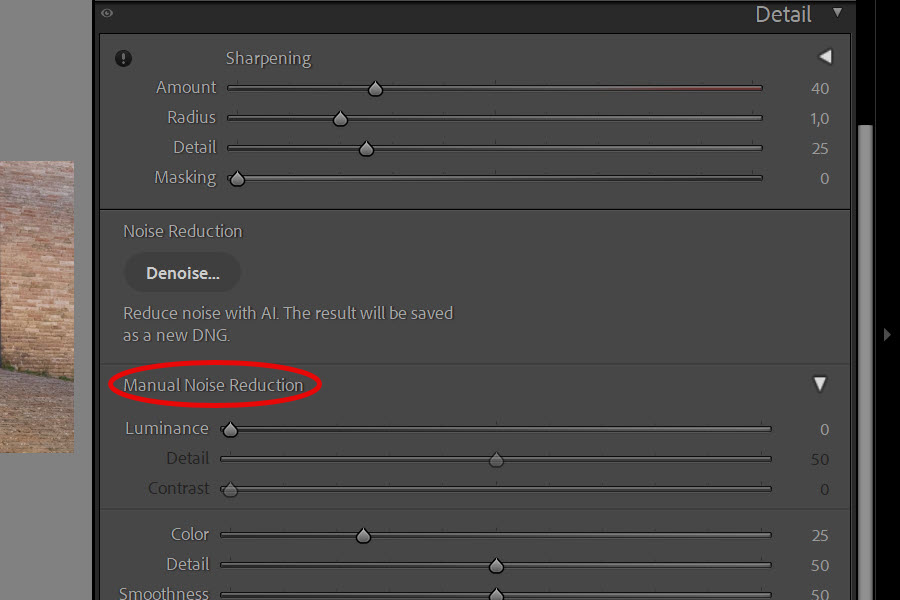
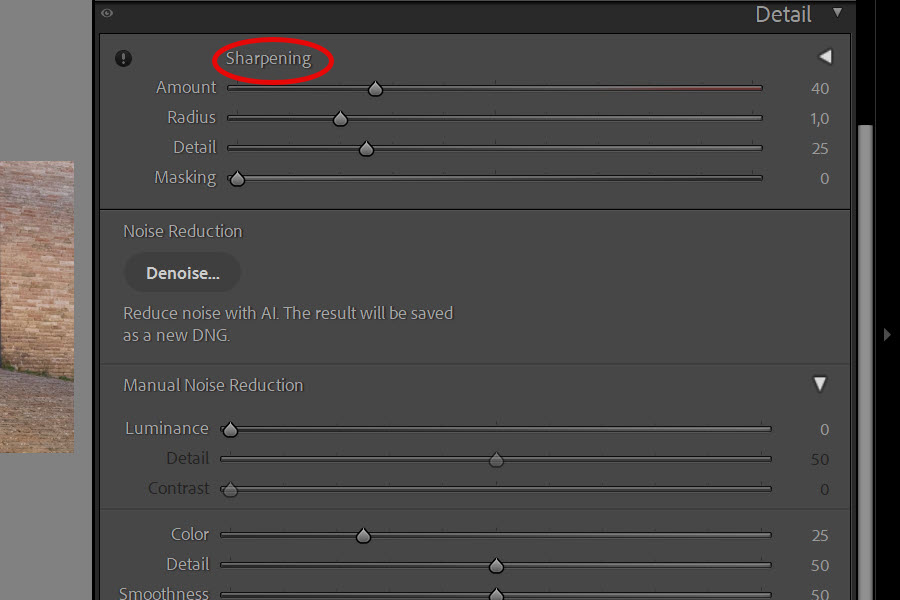
Advanced LR Photo Editing: Mastering Local Adjustments, Color Grading & AI Tools


Related Posts

24. April 2025
Streamlining Your Lightroom Workflow: Efficient Techniques for Consistent Results
Photographers today face an ever-growing volume of images to manage—whether it’s a full-day wedding, a…

15. April 2025
Mastering Adobe Lightroom Photo Editing: Essential Tips & Techniques
Capturing a great photo is only half the battle—what truly elevates an image is how…

8. April 2025
Mastering Photography in Challenging Weather and Lighting Conditions
Capturing stunning photographs isn’t always about perfect weather or ideal lighting. In reality, professional photographers…